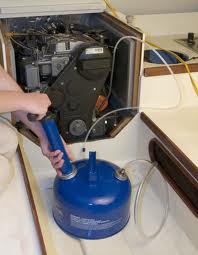
Beginners Guide to Changing Oil
 If you’re reading this blog, chances are you already know a lot about outboard motor oil, however; everyone can use a refresher course or first time instruction on how to properly change the oil on an outboard motor. Outboard motors are lubricated by oil and gas or by adding oil separately to the engine. Older two-stroke motors tend to use the oil-and-gas mixture, while newer four-stroke engines require oil added separately. Regardless of what engine you own, you’ll want to be able to change your own oil.
Before you begin you’ll need socket wrench, oil pan, rags, funnel, and outboard motor oil.
Instructions:
1. Pull your boat out of the water and place it on a trailer to access the outboard engine.
2. Remove the engine cover which will be secured by one or two latches. Pull down on the latch(es) and lift straight up to remove the cover.
3. Much like a car engine, you’ll want to check the dipstick. Pull the dipstick out of the crankcase and wipe it clean. Place the dipstick back in and pull it out again. If the oil is a dark color, it needs to be changed.
4. Trim the motor all the way up by pushing the trim button on the throttle or instrument panel.
5. Remove the drain plug from the bottom of the oil tank to allow the old oil to flow out into the oil pan.
6. Wipe off excess oil and replace the drain plug.
7. Add new oil to the engine by removing the cap to the oil tank and placing a small funnel in the opening. Pour the oil into the funnel. Check the dipstick to see how high the oil has reached. When the oil reaches full, you’re all set!


Comments