ATV Valve Maintenance: Part Three

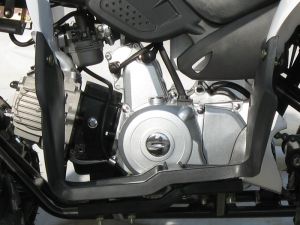
Now that we’ve removed all of the covering and disconnected the main power and fuel lines, it’s time to begin making the actual valve adjustments. With the cylinder head exposed, remove the four valve adjustment caps from the head and the two timing plugs from the left crankcase cover. Once these are removed, ensure that all of the o-rings are intact so that none of your Evinrude XD 100 oil can leak in. Before going any further, ensure that the transmission is in neutral.
Rotate the motor counterclockwise while watching the intake valves. When the valves begin to close, take note of timing window and rotate until the “T’ aligns with the notch; if this is done correctly, there should be some range of motion in all of the rocker arms. The last adjustment is the clearance; place your feeler gauge between the rocker arms and tighten the lock nut-the exhaust valves should have .005 inches of clearance, and the intakes should have .004. With the valve adjustments complete, you can now begin the process of replacing all of the removed parts.

