Yamaha PW80

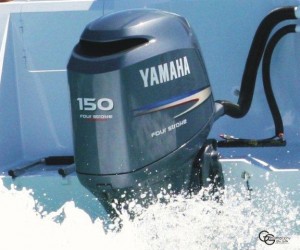
Yamaha is well known for making quality motorcycle and outboard engines. The Yamaha PW80 is a prime example. Typically used in trail midsize trail motorcycles, the PW80 is suitable for tackling bumps and jumps with ease. New riders prefer the PW80 because it is lightweight and easy to handle.

To go into more engine detail, the PW80 runs on unleaded fuel and is a single-cylinder two-stroke. The engine is air-cooled and requires Yamaha 2S oil (or the equivalent). The transmission is a manual three speed operated by foot. All in all, it’s a solid engine that I would recommend to others, particularly motorcycling newcomers.

Did you like this? Share it:

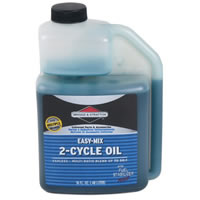
Yamaha Two-Stroke Engine Oil

Normally, I’m wary of manufacturers’ claims. After all, they’ve got a product to sell regardless of the quality. That being said, over the years I’ve found Yamaha’s claims to be largely accurate (although they wax more poetic in their descriptions than I would).

For example, Yamaha 2M oil is described by the company as “meet[ing] or exceed[ing] the industry standard when it comes to guarding against power robbing ring stick and carbon build up.” Having used other oils intended for two-stroke engines I have found this to be true. I would also agree with their statement that Yamaha 2M oil provides “superior anti-wear and anti-corrosion protection.” Though Yamaha has proven there is some truth in advertising, I still recommend finding out for yourself.

Did you like this? Share it:

More Essential Yamaha Outboard Tools

Yesterday we detailed a few Yamaha outboard tools all responsible owners should have on hand. In continuing in that vein, boat owners should also carry extra spark plugs and a spark plug tool. On site swaps are not too difficult for a regular DIY-er.

Fluids, again, not strictly tools, are essential. You will want to have power trim and tilt fluid, like Performance Power, to ensure the prop shaft works properly. Yamalube 2W oil or Yamalube 4M oil, depending on what type of outboard motor you have, is necessary for proper motion and extending the lifespan of a motor. You may want to stock up on gear-case lubricant, too.

Did you like this? Share it:

Installing a Water Pump, Part II

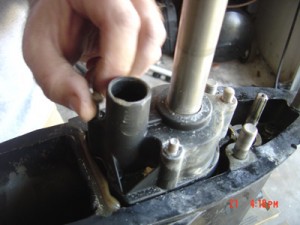
Once you’ve drained any remaining water from the hoses, you will want to remove all the bolts that hold the water pump to the block, and then carefully remove the pump. Scrape the old gasket off the engine block.

Find your new gasket and gasket sealer. Apply the gasket sealer to one side of the new gasket, then align the holes of the gasket with the water pump, and finally press the new gasket against the pump. Seal the exposed side with more gasket sealer. Put the new water pump into place, replace and hand-tighten the bolts. You can re-use and re-install the old drive belt pulleys and old hoses on the new water pump (provided neither is damaged). Don’t forget to check to see if the Yamalube 2M needs topping off!

Did you like this? Share it:

Installing a Water Pump, Part I

For the most part, a water pump will last the lifetime of the motor itself; however, if you do hear whirring or grinding noises, it may be time to replace the water pump. Replacing a busted water pump is not too difficult for the average handy-man or woman. You will need a set of wrenches, a socket wrench set, new water pump, a water pump gasket, gasket sealer, and possibly new hose clamps. While you’re gathering supplies, you may also want to pick up some Yamalube 2-M oil.

Begin by locating the petcock valves on either side of the engine block. Open up a valve or two to drain out the water. Locate and loosen the bolts on the belt pulleys and then remove the belt. The hose clamps should also be visible; remove any water that may still be lingering in the hose connecting to the damaged water pump.

Did you like this? Share it:

Winterizing Yamaha Jet Boat, Part II

Picking up where we left off yesterday… attach the flush hose to the antifreeze container and flush the engine using the same techniques used with the water hose. Once that’s completed, spray fogging oil into the engine carburetor while the engine is running. After a little while, spray enough so the engine stops running. Repeat the cycle with the other engine.

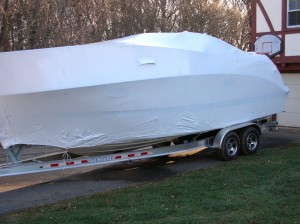
Allow the engines to cool down and then remove the spark plugs. Spray fogging oil into the plugs, and then insert the desiccant plugs. Drain out any remaining water and pump antifreeze throughout via the bilge pump. Use ArmorAll or another cleaner to wipe down cushions and other surfaces, and then cover the boat with a breathable yet weather-resistant tarp. Over the winter you can place an order for Yamalube so you’ll be ready to go once warm weather rolls around.

Did you like this? Share it:

Winterizing Yamaha Jet Boat, Part I

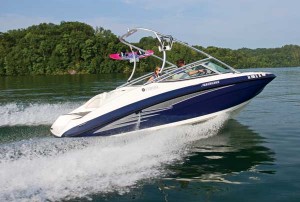
Knowing how to winterize watercraft is part of being a responsible boat owner. Today and tomorrow we’re going to focus on how to winterize a Yamaha jet boat. To complete the winterization process, you will need: stabilizer fuel treatment, fogging oil, water hose, flush hose, antifreeze, desiccant plugs, and ArmorAll.

Add fuel stabilizer to the fuel tank of the jet boat prior to its last run of the season. After the outing is over, add another bottle of fuel stabilizer and fill the tank with fuel. Using the water hose, flush the engine for about 30 minutes. Make sure the engine is running when you flush the system, so as not to damage any cylinders. We’ll pick up here tomorrow. You can use the time between posts to make sure you have all the necessary materials, including plenty of Yamaha outboard oil.

Did you like this? Share it:

Repairing a 2-Stroke Float Valve

The float valve is an essential component of any outboard engine because it controls the level of fuel present in a carburetor’s float bowl. If the levels are incorrect, the engine may flood out or starve for fuel. Repairing and adjusting a  is fairly simple.

Start by turning the carburetor float bowl upside down, so the float hangs free. Using a six-inch machinist’s ruler, check to see if the float is correctly set. If not, bend the small metal tab between the hinge and body of the float, so that is lies at the correct level. Don’t forget to check the levels of Yamaha oil when you’re done tinkering with the float bowl!

Did you like this? Share it:

2007 Yamaha GP1300R

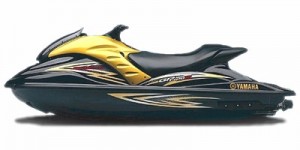
The 2007 Yamaha GP1300R is loaded with impressive features. My particular favorites are the environmentally-conscious innovations. The GP1300R employs technologies that don’t compromise performance while reducing emissions output and noise levels. The Sound Suppression System targets the noisiest culprits: intake, exhaust, and vibration.

Another superb feature is the Yamaha Platinum plus System. It is a “high-tech catalyst that is artfully integrated into the exhaust system.” It garners a California two-star rating for its low emissions. Yamaha 2W oil is the only oil recommended for use with the Platinum System.

Did you like this? Share it:

Fishing in Arkansas, Part II

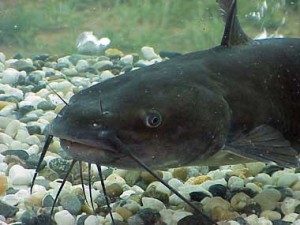
Another fish my uncle is partial to fishing is catfish. Generally I’m not a fan of catfish – their ugly faces are so off-putting – but they do taste excellent when fried just right. Arkansas offers many lakes for catching catfish, including Lake Atalanta, White Oak Lake, and Lake Hinkle.

Of course, the biggest catfish can be found in the might Mississippi river. World-record big channel, blue, and flathead catfish are bountiful in the river that runs the length of Arkansas’ eastern border. I’d love to fill a boat up with Yamaha 2M oil, head out on the Mississippi River, and catch some big catfish!

Did you like this? Share it:

WaveRunner Oil

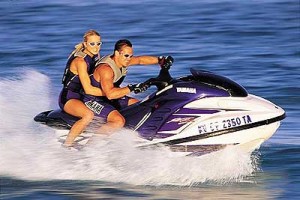
A WaveRunner can provide endless summer thrills. Properly maintaining a WaveRunner isn’t too difficult, particularly when it comes to replacing dirty oil. All you need is the owner’s manual, an oil extractor, a rag, an oil filter, and replacement oil.

Start by extracting the oil (typically 2.4 quarts) from the engine. Consult your owner’s manual to find and remove the oil filter using your rag. Next, apply oil around the outside ring of the new filter and put the filter in place. Add replacement WaveRunner oil, turn the engine on and let it run for a few minutes, then check use the dipstick to check the oil levels.

Did you like this? Share it:

Two and Four Stroke Oil Formulas

Yesterday we tackled the reasons why 2 cycle and 4 cycle oils are not interchangeable. Today I will explain how the formulas differ. For starters, 4 cycle oil is specifically manufactured with additives, like viscosity index improvers, to inhibit oil consumption. In other words, the formula makes oil harder to burn.

On the other hand, 2 stroke oil is specifically formulated to burn away, leaving minimal residue on spark plugs, cylinders, and exhaust ports. Another aspect of the formula is to inhibit pre-ignition. The formula also protects against rink sticking and crankcase sludge.

Did you like this? Share it: