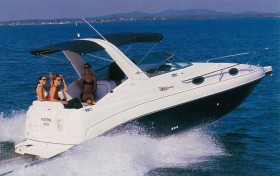
Winterizing Your Boat

Winterizing Your BoatIt may be sometime before the season ends, but you’ll want to read up on the precautions you need to take to ensure a long life for your boat. Prior to the step below, Drain the gear case and check for excessive moisture in the boat motor oil.

Then, flush engine with fresh water using flush muffs or similar device attached to the raw water pickup. Let all water drain from the engine. Wash engine down with soap and water and rinse thoroughly. Disconnect fuel hose and run engine until it stops. It is important to follow a step by step process to make sure that all fuel is drained from the carburetor to prevent build-up of deposits from evaporated fuel. Use fogging oil in the cylinders to lubricate the cylinder walls and pistons. Apply water resistant grease to propeller shaft and threads. Change the gear oil in the lower unit. Lightly lubricate the exterior of the engine or polish with a good wax.

Did you like this? Share it:

Picking the Proper Two-Cycle Oil

Two-Cycle OilTo understand how two cycle oil works in your engine, we need to cover some basic information on engine operating conditions and oil formulation. Outboard engines are characterized by their constant speed, high output operation. They are usually set at a desired high speed and continue at that speed until the destination is reached and then throttled down. Also, they are constantly cooled with fresh, cool, non re-circulated water.

Chainsaws, on the other hand, are a high action operation. They are constantly started and stopped, used for short periods, and frequent overloads are its hard place in life. Additionally, they have smaller displacements than outboards and are air cooled. By understanding how the operation of an engine can affect the oil used and how oil can affect the engine, we can better appreciate the difference between a water cooled two-cycle oil and one formulated for an air cooled two-cycle engine.

Did you like this? Share it:

The Big Problem with Oil Leaks

boat motor oilJust like with your car, boat motor oil leaks can signal a problem. Find oil leakage can be indicated in several ways, whether it’s a pool in your garage or driveway or if it’s mixed with water when you remove the water plug. Here are some things you should look at to surmise a leakage problem:

  • Check your dipstick before and after you take your boat out. It’s also good practice to do this anyway.
  • Check if there’s oil in the oil pan.
  • Check the level in your tilt and trim reservoir.
  • Change your filter, if necessary.

If you’re still having issues, consult a professional boat mechanic to see if there are any other parts of the boat you may have glossed over. The main thing is to solve this problem immediately before it causes a great deal of damage to your boat.

Did you like this? Share it:

Saving Money on Gas

Saving Money on GasDon’t let the gloom and doom predictions of high gas prices keep you from your boating passion. Even with bulk oil costs soaring, it’s still possible to have some money in your pocket when you leave the fuel pier. By understanding your boat’s design – whether it has a displacement, semi-displacement, or planning hull – and doing some easy calculations, you will know the boat’s most economical cruising speed.

Displacement and Semi-Displacement Boats
Displacement hulls are designed to force their way through the water. A semi-displacement hull achieves a partial plane, which reduces drag and wave making. Both have a top speed that cannot be exceeded without increasing the power significantly. A large power increase also means greater fuel consumption.

To figure the maximum speed, multiply the square root of the waterline in feet times 1.34. Using this calculation for a 38 ft. displacement hull boat, the maximum speed is 9.2 knots. To save money on gas with a displacement or semi-displacement hull, do not try to increase your speed past the calculated maximum speed. In the case of the displacement hull, increasing power to go faster will use more fuel without a resulting speed gain. With a semi-displacement hull, your speed will increase, but there will be a corresponding fuel consumption increase.

Planing Boats
Pull back on the throttles with a true planing hull. Fuel consumption increases with every knot while the boat is on plane. A boat with a planing hull has the greatest fuel economy at the point when it first comes onto plane, or begins to skim the surface of the water.

Limiting the amount of time a planing boat displaces water before coming onto plane will also result in reduced fuel costs. This doesn’t mean slam the throttle downs to get up on plane faster. Instead, bring the boat up to speed at a moderately quick, steady pace.

If you are like me, you like to go fast quickly. But, if you follow these tips for reduced fuel consumption, you will finish at the end of the boating season having won the fuel marathon with a few extra dollars in your pocket.

Did you like this? Share it:

Thieves Stealing Gas from Boats

Thieves Stealing Gas from BoatsGas thieves aren’t just a problem on land. With the high price of gasoline, they’re also striking on the water.

Police are saying that they are receiving reports of gas cans being stolen and gas being siphoned from boats left tied to the end of docks or on boat lifts.

They’re reminding boat owners to remove gas cans and outboard motor oil when they secure their boats for the night.

Did you like this? Share it:

How to Change an Oil Filter on Your Boat

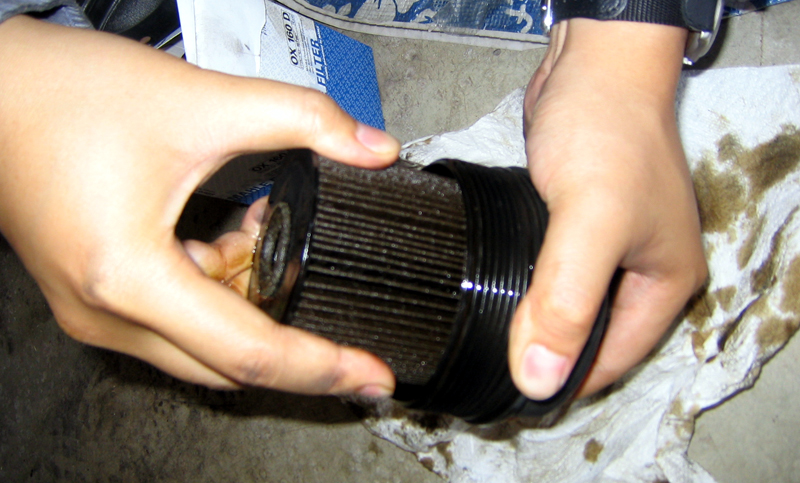
outboard oilPart of making your boat run well is to regularly change your oil filter. Ideally, you’ll want to change your outboard oil filter every 100 hours, or at the top of the season. Here’s a guide on how to do it yourself:

• Because you’ll have to drain and then refill the oil, you’ll need to pull the boat out of the water onto dry land.

• Remove the engine cover, which is usually held in place with the use of one or two latches. Simply pull down on it and lift it straight up. Let it set off to the side — being careful not to scratch its surface.

• Here are some key parts and elements on the engine:

• Dip Stick — Simply pull it out to examine the condition of the oil inside the crank case.

• Fill — The fill for the engine oil screws on and off.

• Drain Plug — The manufacturer installed the drain plug for the crank case oil in what’s called the “mid-section” of the outboard engine. You simply loosen it to drain the oil.

• Before getting into the oil change, bring in a table and turn the steering wheel so that the drain plug on the motor is facing inward. Then trim the engine all the way up and place an oil pan on the table and under the drain plug.

• Back the drain plug out with the socket wrench, and be sure to have the oil pan right under the plug because the oil will flow freely.

• Once all of the oil has drained, wipe up any excess oil with a rag or absorbent pad.

• Replace the drain plug and tighten it securely.

• To change the oil filter, which needs to be changed every time to change the oil, you won’t be able to use a traditional oil-filter wrench because they’re too large. What you’ll need is a strap wrench that slips right over the filter cap. Pull it tight and then try to loosen the cap. If the strap slips, you may have to clean the filter cap with an absorbent pad. If this doesn’t work, get a screwdriver and hammer and simply drive (by tapping) the screwdriver tip down into the cap, and then rotate the filter until it becomes loose enough to take off.

• Before you replace the old oil filter with the new one, dip your finger into the old oil and rub a bead of the oil around the edge of the new filter’s gasket o-ring. This will make the job of removing this filter that much easier when it’s time to replace it.

• Screw the new oil filter into position.

• Now that the oil filter is in place and the drain plug is secured tightly, it’s time to remove the plug for the fill and add the three quarts of oil using a funnel.
• Warning: Every engine is different so be sure to check with the manufacturer’s manual for how much oil to use.

• The last thing you need to complete the oil and filter change is to pull out the dip stick in order to make sure you have enough oil.

• Please always dispose of discarded engine oil at an approved collection center.

Did you like this? Share it:

Preventing Spills

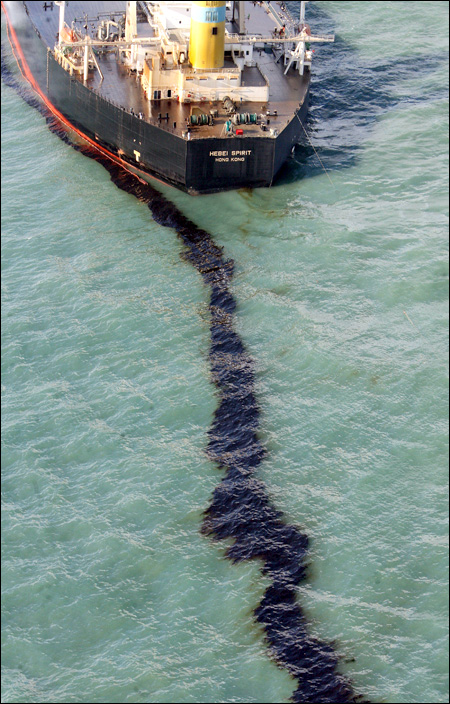
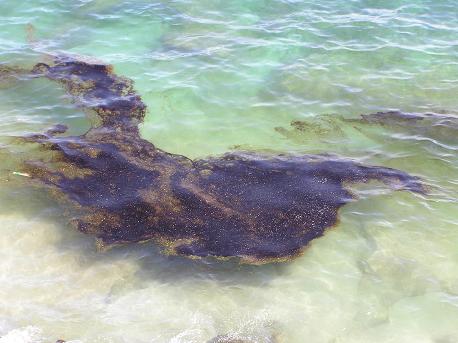
Preventing SpillsPart of being a responsible boater is to ensure that your boat isn’t leaking outboard motor oil. Not only will leaks and spills be a detriment to the environment, but some states will fine you for leaving a trail of oil. Spills and leaks can be prevented by checking your motor before taking your boat out on the water. Also make sure that your motor is tuned and bilges have been checked for oil leaks.

Additionally, you should also check weather reports, as overturned and submerged boats can leak fuel and oil into the water, killing fish and other wildlife.

Did you like this? Share it:

Prolonging the Life of Your Boat

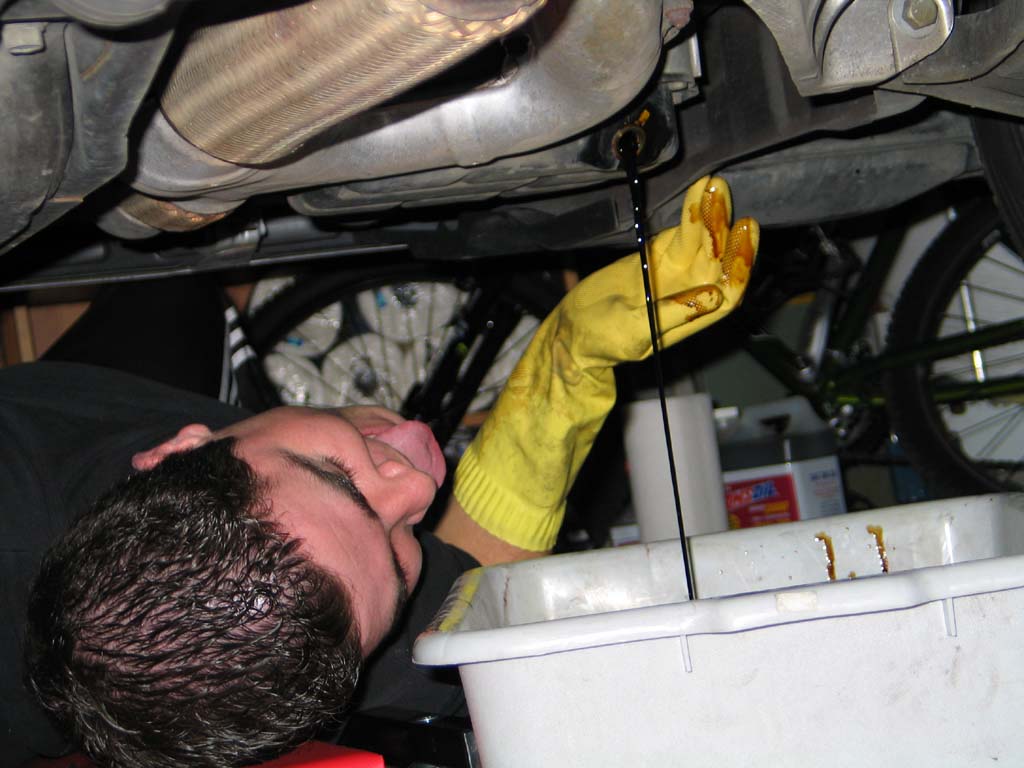
marine engine oilYou should change your marine engine oil and filter every 100 hours or every season, which ever comes first. This simple piece of maintenance is often overlooked because it is not quite as easy as changing the oil in your automobile. Following is a step-by-step process which you can follow to make the chore more bearable.

Equipment Needed:
• An oil filter wrench to fit each size of spin-on filter you have
• A box of Zip-Lock baggies large enough to hold an oil filter
• A wrench the correct size for your crankcase drain plug, and a pan shallow enough to fit under your engine if possible or,
• A dipstick-tube oil drain pump and bucket big enough to hold all the oil or,
• An oil drain pump permanently fitted to your crankcase drain plug and bucket
• A roll of paper towels
• New oil filter(s)
• A supply of fresh oil as recommended by your engine manufacturer

Step-by-Step:
• Run the engine(s) until warmed to at least 130 degrees
• Drain the oil using the pump, or into the pan
• Replace the plug or close the valve
• Loosen the oil filter on the engine until it can be turned by hand
• Put a Zip Lock Baggie around the filter, and unscrew the rest of the way
• Use a paper towel to catch drips from the filter’s mounting
• Seal the zip lock baggie keeping the filter upright
• Put it into the new filter’s box
• Using your finger, wet the O-ring atop the new filter with fresh, clean oil
• Screw on the new filter until just finger-tip tight
• Follow the manufacturer’s recommendation as to tightening with the wrench
• Re-fill the crankcase with new oil (see your engine handbook)
• Be sure to add a quart for the filter
• Wipe up any drips
• Start the engine and let it run a few minutes
• Checking to be sure oil pressure comes up and there are no oil leaks around the filter or drain plugs
• Dispose of the oil properly at an approved disposal facility

Did you like this? Share it:

Choosing the Right Engine Oil

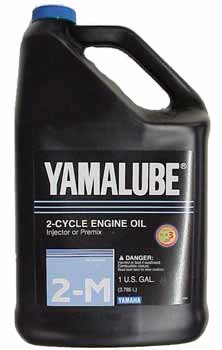
YamalubeDepending on your engine type, how fast it could potentially go and how quickly it will burn through oil, you have several brands to choose from. Some people align their engine brand with the oil (such as using Yamalube oil for Yamaha engines), and others shop around. When I bought my boat, I posted on a message board to find out what people recommended and that worked out pretty well since I was able to go with a brand, though not corporately related to my engine, my engine runs of a premium rate.

Did you like this? Share it:

Checking for Leaks

Checking for LeaksOne of the most overlooked problems that boat owners have is leakage. Whether your vessel is leaking outboard motor oil or water into the interior, this is a serious problem. Leakage can cause some severe problems if not detected quickly. If an issue like leaks is ignored, it can cost you thousands of dollars if your boat is assessed. Depending on where and what is leaking, repair can range from something that you can do yourself to calling a professional. The key is to catch it before it becomes an expensive problem.

Did you like this? Share it:

Cleaning Oil Spots from Your Garage/Driveway

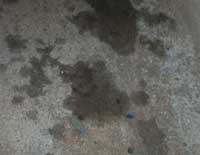
Cleaning Oil Spots from Your Garage/DrivewayMost boat owners have to keep their vessels at home and as is such, there can be messes made due to the general maintenance that happens there. One such mess can be spilling boat motor oil everywhere. Cleaning up oil can be a pain; here are some tips that will help and make it slightly easier:

• Pour cola on the oily or dry stained areas, and leave the cola on overnight. Squirt a generous amount of dishwashing liquid into a bucket until you have a good lather. Rinse with the soapy water, then with a garden hose.

• Sprinkle baking soda or an absorbent powder such as cornmeal or sawdust on the oily spots. If the stain is dry, wet it first to make a scouring paste. Scrub with a stiff brush or push broom.

• Sprinkle automatic dishwasher detergent on the oily concrete. Leave it for several minutes, then pour boiling water on the stained area. Scrub with a stiff brush or push broom, then rinse.

• Try a commercial concrete cleaner such as Garage and Driveway Cleaner by Red Devil Co. or a grease solvent such as Benzine. Follow the manufacturer’s instructions.

• Sprinkle trisodium phosphate (TSP) on the oily concrete. If the stain is dry, wet it first. Let it stand for 30 minutes. Scrub using a stiff broom. TSP is a dangerous product; if you must use it, wear rubber or latex gloves, safety goggles and protective clothing. Also, never wash a TSP product down storm drains.

• As a last resort, combat tough spills with muriatic acid and a pressure washer. Apply the acid following the manufacturer’s directions, and let it soak for several seconds. Follow with a pressure washer set at 2,500 to 3,000 lbs. per square inch (psi), or 176 to 211 kg per square cm. Like TSP, muriatic acid is a dangerous product; likewise, if you must use it, wear rubber or latex gloves, safety goggles and protective clothing, and never wash such a product down storm drains.

• After trying any of the strategies above, sprinkle baking soda over the cleaned area to neutralize the solution you’ve used.

• Opting for professional pressure washing services offers a highly effective solution. Boat owners can rely on services like Pressure Washing Services in Tarrant Co, TX By ARP Wash to restore the pristine condition of their driveways, sidewalks, and garage floors. With specialized equipment and expertise, these services offer a powerful and efficient way to eliminate stubborn oil stains, ensuring a clean and well-maintained environment.

• However, garage door maintenance is as important, ensuring the safety and functionality of your home’s entry points is paramount. A properly installed garage door not only enhances curb appeal but also provides essential security and convenience. Whether you’re upgrading to a modern, automated system or need repairs for an existing door, professional services like Fixed my garage door ensure that every aspect of installation and maintenance is handled with precision and care. Regular maintenance by trained professionals also helps prevent unexpected breakdowns, keeping your garage door in optimal condition throughout the seasons.

• Another service at hand can help maintain the reliability of your garage door, ensuring that it continues to operate smoothly. Garage door repair services, such as those offered by experts in Garage door repair in boise, can address problems ranging from misaligned tracks to malfunctioning openers. By choosing experienced technicians, you can rest assured that every component is thoroughly checked and optimized for performance.

• Similarly, when addressing structural issues such as basement wall cracks or basement leak detection, relying on expertise becomes indispensable. These foundational concerns can jeopardize the stability and safety of your home if not promptly and correctly addressed. Professional basement crack repair experts possess the knowledge and specialized tools needed to assess and repair these vulnerabilities effectively. By entrusting these tasks to experienced professionals, homeowners can ensure that their properties remain secure, resilient, and well-maintained, safeguarding both structural integrity and peace of mind for years to come.

Did you like this? Share it:
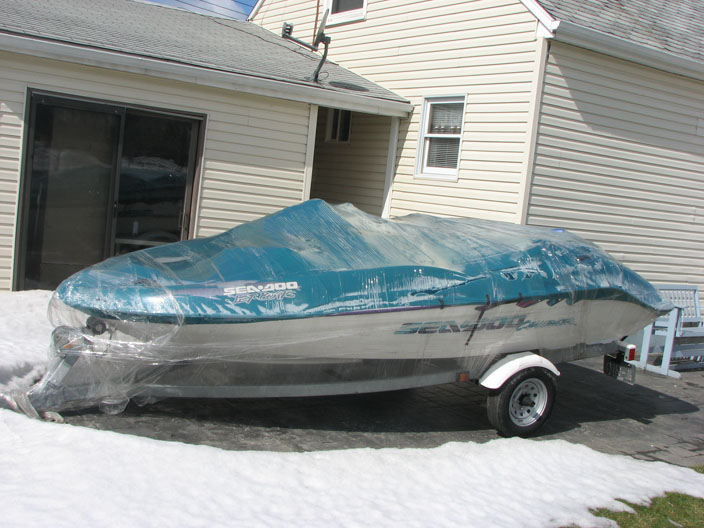
Post-Trip Maintenance

Post-Trip MaintenancePurchasing premium boat motor oil isn’t the only important step to having a well running vessel. There are a few things that you can do after a trip that will help your engine running smoothly:

• After every trip, flush out the engine.

• While you’re flushing the motor, check the water pump to make sure it has good water flow. Put your finger through the stream of water; it could be warm, but not hot. If the output isn’t strong, there may be debris stuck in the outflow tube. Shut the engine down to prevent damage.

• Insert a small piece of wire into the flow tube and work it back and forth. Start the engine again and check the output. If that doesn’t help, you may need a new water pump.

• After flushing the engine, disconnect the fuel line and have the engine to burn the fuel in the carburetor.

• Take the engine cowling off and check for fuel or water leaks. If you find leaks talk to a mechanic.

• Wipe everything down and spray with an anti-corrosive like WD-40. Be sure to lubricate all the moving parts such.

• Replace the cowling and wipe it down. Cover the engine between trips.

• Always use fresh fuel.

Did you like this? Share it: