Outboard Motor Maintenance: Part One
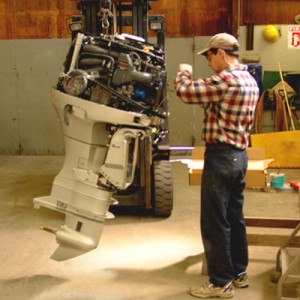
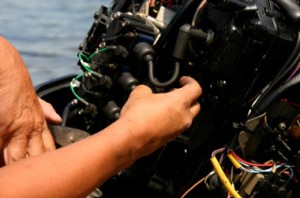
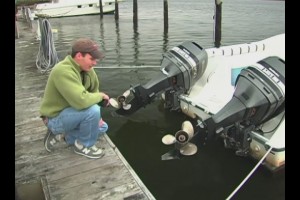
Changing your outboard motor oil and coolant is crucial to ensuring the longevity of your motor, but it isn’t enough. Without routine maintenance, your outboard motor will begin to corrode. While taking the cover off the motor may be intimidating, basic maintenance of an outboard motor is simple for virtually anyone with a set of tools. However, if you aren’t a mechanic, it is wise to bring the boat in periodically to have the compression, pressure, water pump and other esoteric systems tested.

Once you have taken the boat in for inspection, most of the maintenance will only take a few minutes. First, flush the engine after every outing, especially if you are in salt water. You only need to flush the engine for 10-15 minutes, but this will successfully rid the system of any sand, dirt or debris that may have been sucked up.

Did you like this? Share it:

Marine Spring Cleaning: Part Three

The engine is unequivocally the most important component of your boat, and as such, it requires a thorough examination. We’ll begin with inboard engines, as the process is more in-depth. Start by changing the bulk motor oil and both the fuel and oil filters. Also ensure that the coolant and transmission fluid are topped off. Even if you’ve just replenished all of your engine fluids, always keep extra onboard. Finish by inspecting the entire system for cracks, rust, blockage and any other signs of corrosion.

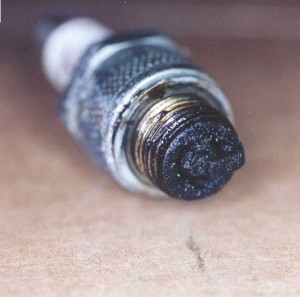
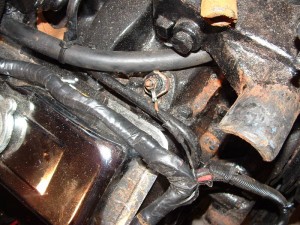
Maintenance for outboard motors is more straightforward. Replace the spark plugs and check the wiring for any damage. Lubricate all of the moveable engine components and make certain the gear lube is adequate. When you are finished working on the engine, ensure that the fuel shutoff valve and hoses are intact. Now that you have inspected your boat and done some basic maintenance, you’re ready to hit the water.

Did you like this? Share it:

Boat Engine Maintenance and Troubleshooting: Part Five

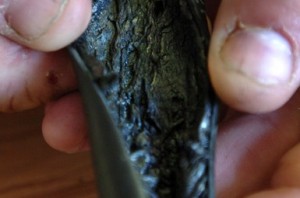
Neglecting to change your Evinrude XD100 will cause your motor oil to become acidic. When this happens, the acid in the oil can create corrosive damage throughout the engine. Acidic oil will be thick and black in appearance, so if this is the case, it is an obvious indication that you should be changing your oil more frequently. While oil must be changed at least every 100 hours, it is also advisable to put in new oil prior to storage.

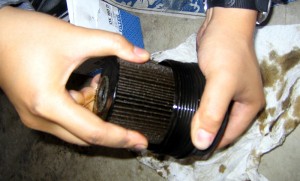
Once the oil has been changed, check the oil filters as well. Since these are one of the main ways that contaminants are removed from your oil and the engine, opt for the pricier models. This is also a good time to check the oil hoses and inspect the rest of the engine for rust and damage. A small amount of rust is normal, but if you find a surfeit, there is probably something wrong. If this is the case, seek out a professional mechanic to diagnose the problem.

Did you like this? Share it:

Boat Engine Maintenance and Troubleshooting: Part Four

Many people assume that as long as they add coolant to their system they are doing something beneficial for their boat, which is certainly not the case. Before adding coolant to your system, you must premix it and ensure that it has the proper ratio of water to fluid. Adding too much coolant to your engine can cause a sticky mess in the cooling system, while too little coolant has obvious ramifications.

The other main fluid to change regularly is the outboard motor oil, which will begin to develop carbon buildups. When this happens, the carbon that is suspended in the oil is transferred throughout the entire engine. A good rule of thumb is to change your oil every 100 hours, although some boaters opt to do so more frequently. Tomorrow we will continue outlining the oil changing process and conclude our series on engine maintenance.

Did you like this? Share it:

Boat Engine Maintenance and Troubleshooting: Part Three

As the heart of the boat, the engine should be near the top of your maintenance hierarchy. Changing your 2 cycle oil is obviously crucial, but it’s not enough. Most marine engine damage stems from neglect of the cooling system. Since marine engines use the water they are in as a cooing agent, the contaminants in the water also flow through the cooling system.

The water filters are the most important component to maintain in the cooling system. Opt for the premium models with metal strainers instead of plastic. Maintenance of the cooling system is particularly significant if you are boating in salt water. If this is the case, check regularly for rust around the gaskets, which is an indication that salt water is leaking out of the system.

Did you like this? Share it:

Boat Engine Maintenance and Troubleshooting: Part Two

Regardless of the size of your boat, developing a checklist for your routine maintenance procedures is essential. A checklist will ensure that no simple tasks such as changing your Evinrude XD 100 aren’t overlooked, and as you get to know your boat better, you will certainly want to add and expand this list. It is also helpful to keep a log of all the maintenance you do so that you can monitor when various components and fluids were replaced.

When developing your checklist, it is important to prioritize and recognize what should be left to qualified professionals. Some tasks may be above your head, while with others, the money that you spend on a mechanic will be worth the time and effort that you save. Procrastination is one of the main causes of boat trouble—the sooner you detect a problem, the cheaper and easier it will be to remedy.

Did you like this? Share it:

Preseason Boat Maintenance: Part Four

For most of us, many of the components of the boat motor and inner workings of the craft are arcane and obscure. Even so, there are a few critical parts that every boater should check before the season, and if there is something that you are unsure of, be sure to take your craft to a qualified professional. Of course, the first aspect of the motor to inspect is the fuel line; make sure that the line is intact and that there are no signs of wear. Also check the fuel primer bulb and look for any loose fittings or leaks.

After you’ve inspected the fuel line, move to the tank and check for corrosion, rust and any leakage. Once the fuel tank and line are cleared, make sure that the battery holds a charge and has the proper fuel levels. Finally, change your Evinrude XD 100 and top off the other essential fluids, such as coolant.

Did you like this? Share it:

Preseason Boat Maintenance: Part Three

One of the paramount tasks in any preseason maintenance routine is a thorough eye-inspection; it doesn’t matter if your outboard motor oil is topped off and your battery is charged if there is damage to the body. Many people assume that damage to their boat is due to weathering stormy conditions and blasting through choppy water. In fact, many of the repairs that you have to perform will be a result of mooring.

As such, it is important to check the hull of the ship and areas that have a propensity of contacting the dock. It is also advisable to double-check your lines when you tie up your ship to ensure there is minimal slack, which will prevent damage in the future. During this basic inspection, also check for any loose fittings and other parts that may have worn down during last season.

Did you like this? Share it:

Preseason Boat Maintenance: Part Two

If you’ve had a boat for several years, making a checklist of your maintenance routine may seem superfluous. You are probably saying to yourself, “How could I forget to top off my Evinrude xd100 oil!?” The truth is that all of us, no matter how qualified, will inevitably overlook minute details every now and again. A recent book by Atul Gawande, ‘The Checklist Manifesto’, expounds the merits of checklists, using doctors as a primary example.

For those well versed in the nuances of boat maintenance, it is probably safe to generate your own checklist to go through. However, there are several websites where you can find convenient comprehensive lists that can be printed off. Another option is to compile the tips and advice from this blog to create your own custom list.

Did you like this? Share it:

Preseason Boat Maintenance: Part One

Although it will be several weeks or months—depending on where you live—until boat season is in full swing, it is never to early to start tuning up your craft and preparing for some fun on the water. Personally, I like to go through my checklists and make any necessary repairs well before I take out my boat. This is ensures that I don’t lose valuable time on the water to mundane maintenance.

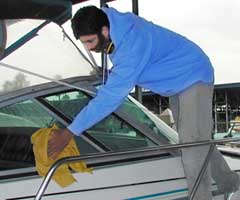
Over the next few days, we’ll review all of the key components and systems you should insect prior using your boat—from changing the outboard motor oil to inspecting the motor for damage. One of the most important aspects to boat care, and one which is often overlooked, is the necessity of keeping your boat clean. Maintaining a clean craft and applying a good coat of wax will help minimize the damage that is inflicted during normal use.

Did you like this? Share it:

ATV Valve Maintenance: Part Two

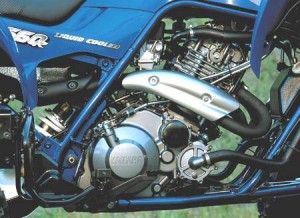
outboard motor oilYesterday we reviewed the importance of performing routine ATV maintenance, such as checking the outboard motor oil and performing minor tune-ups. One relatively simple task that most people can do on their own is valve adjustments. (Refer to yesterday’s post for a complete list of all of the tools that you will need.) The first step is to remove the rear fender seat assembly and unhook the negative connection of the battery to prevent accidental starting. Next, remove the front plastic and fenders-also be sure to disconnect the wiring for the headlights and ignition.
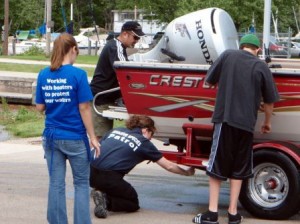
The last thing that needs to be removed is the fuel tank. After turning off the fuel valve and disconnecting the fuel line, remove the fuel tank heat protector. During this process, be sure to note where the connection points, as well as the placement of all of the parts that you remove. Now that all of the covering and fuel lines have been disconnected, it is time to adjust the valves-but that will have to wait until tomorrow.

Did you like this? Share it:

Inspect Before you Buy at a Boat Auction

inspect

When you go to a boat auction it is a good idea to do a boat inspection to make sure that you know what you are bidding on. Here is a list of things to look for:

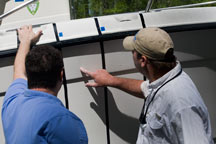
Quick walk-around – walk around the boat and check the hull, pay particular attention to the stem, chines and strakes. If there has been a collision you will see cracks there.

Shake the I/O – if you shake the I/O and it has alot of play then it might need gimbal bearings. Also check around the seals and gaskets for leaks.

Check the dipstick – check to see if the dipstick smells burned or looks milky. I could be the wrong viscosity or was never changed.

Check the wiring – bare wire and terminators that are twisted together or sealed with electrical tape are bad.

Test the fuel and oil – The gasoline sold today is 10% ethanol. This attrackts moisture which separates in the fuel tank. Water in the engine or boat motor oil is bad news. This can lead to a cracked block.

Did you like this? Share it: